The single most important rule of photo restoration is this: never work on your only copy. Scan or photograph the original first, keep that file untouched, and do everything on a copy. That way you can never make things worse.
Modern tools are good, but they are not magic. They can undo fading, smooth scratches, sharpen a blurry face, and repair small tears. A photograph that is badly torn or missing a face may still need a human retoucher, and that is fine.
- The original photograph
- A scanner, or a phone camera and good daylight
- One of the tools below
- Somewhere to save both versions
The four steps
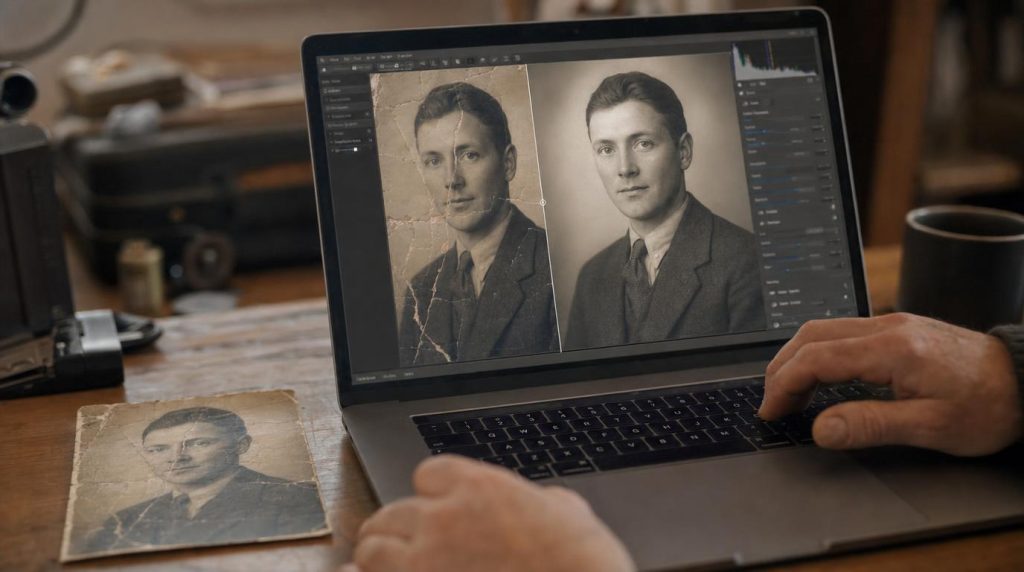
Make a clean copy
Scan the photo at 600 dpi or higher, or photograph it flat in good, even daylight. Fill the frame, keep the camera square on, and avoid glare and shadows. This copy is what you will work from, so it is worth getting right.
Choose a tool
Pick one from the table below to suit how much you want to spend and how hands-on you fancy being. Nearly all of them let you try a photo for free before you pay anything.
Restore, then ease off
Let the tool do its work, then look closely. The most common mistake is going too far, so that faces turn plastic and the grain vanishes. Aim for the photo as it looked when it was new, not airbrushed.
Restore and colourise as two separate steps. Clean the photo up first, then, if you want colour, add it to the cleaned-up version.
Save both versions
Keep the untouched original scan and the restored version, named clearly, and back them both up. You will want the original again one day, and a future tool may do an even better job of it.
Which tool to use
All of these will produce good results. The right one depends on your budget and how much control you want.
| Tool | Best for | Cost |
|---|---|---|
| MyHeritage | Family photos. Restores, sharpens, and colourises, and understands the era a photo comes from. | Paid, free trial |
| Remini | Faces, on your phone, in seconds. Snap the old photo and it does the rest. | Free and paid |
| Hotpot / ImageColorizer | A quick, free go in the browser before you commit to anything. | Free tier |
| GIMP | Full manual control, if you enjoy learning a proper editor. | Free |
| Adobe Photoshop | Professional hand-retouching of badly damaged photos. | Paid |
Common questions
Will restoring damage the original?
No, as long as you work on a copy. The original photograph and its first clean scan are never touched. Everything happens on a duplicate file.
My photo is torn in half. Can these tools fix it?
Small tears and creases, yes. A photo torn clean through a face or missing a large piece usually needs a human retoucher, who can rebuild what is missing convincingly. It is worth the cost for a treasured picture.
How big should I scan?
600 dpi is a good minimum; higher is better for small photos. The more detail you capture, the more the software has to work with, and the larger you can print it later.