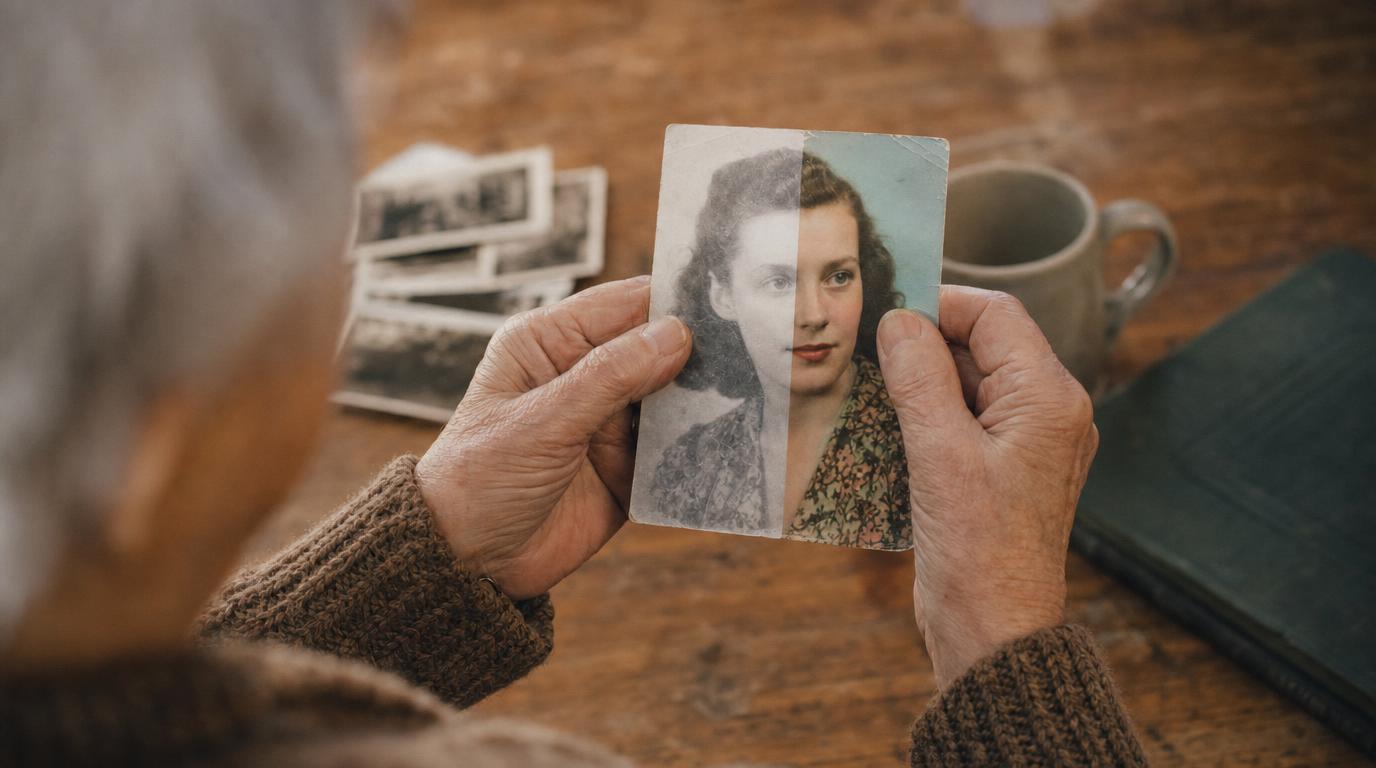
It helps to know what colourising really is. The tool looks at the shades of grey and makes an educated guess at the colours, based on millions of other photos. It is usually convincing, but it is an interpretation, not proof of what colour that dress or that door truly was.
So always keep the original black and white version, and treat the colour one as a lovely companion to it, not a replacement. If you restore a photo first, colourising works better on the cleaned-up copy.
- A clear scan of the photo, ideally already restored
- One of the tools below
- A couple of minutes
- Somewhere to keep both versions
The four steps
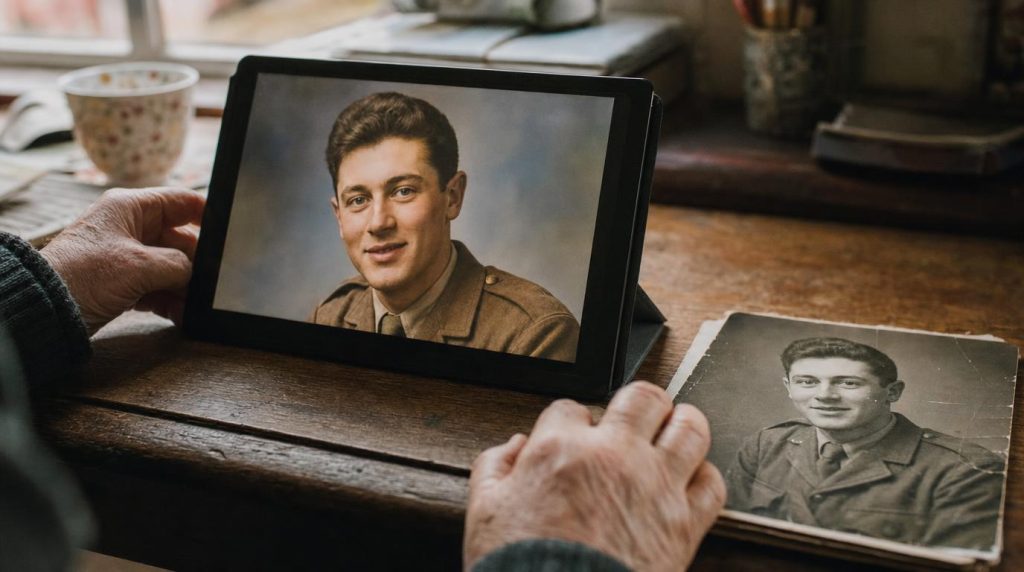
Start from a good copy
Use a clear scan, ideally one you have already restored. The cleaner the black and white photo, the more natural the colour will look, so it is worth cleaning it up first.
Upload it to a colouriser
Choose one of the tools below and upload your photo. Most do the whole thing automatically in a few seconds, with nothing to adjust.
Check it against what you know
Look at skin tones, uniforms, and anything whose true colour you know. Some tools let you nudge the colours by hand if something looks off, which is worth doing for a favourite photo.
Colour is the tool’s best guess, not a record. Never present a colourised photo as if it were an original colour photograph.
Save both, and note it is colourised
Keep the original black and white and the colour version. When you share or file the colour one, add a note that it was colourised, so nobody mistakes it for the real thing years from now.
Where to colourise
Any of these will give you a convincing result. Start with a free one to see how your photo looks.
| Tool | Best for | Cost |
|---|---|---|
| MyHeritage In Color | Family history. Tuned for old photos and takes the era into account; restores and colourises in one place. | Paid, free trial |
| Palette.fm | The most natural colour going. Works in the browser and lets you steer it with simple prompts. | Free to try |
| ImageColorizer / Hotpot | A quick, free first go before you commit. | Free tier |
| VanceAI | Colourising alongside restoring and sharpening, all on the one photo. | Paid, free trial |
Common questions
Are the colours accurate?
They are a very good guess, not a fact. The tool infers likely colours from millions of other images. Skin and skies are usually spot on; specific clothes and objects are its best estimate, so keep the original as the true record.
Should I restore or colourise first?
Restore first. Cleaning up the scratches and fading gives the colouriser a clearer image to work from, and the result looks far more natural.
Can I fix a colour that looks wrong?
Some tools, such as Palette.fm, let you guide the colours with a word or two, or adjust them by hand. For most photos the automatic result is more than good enough.