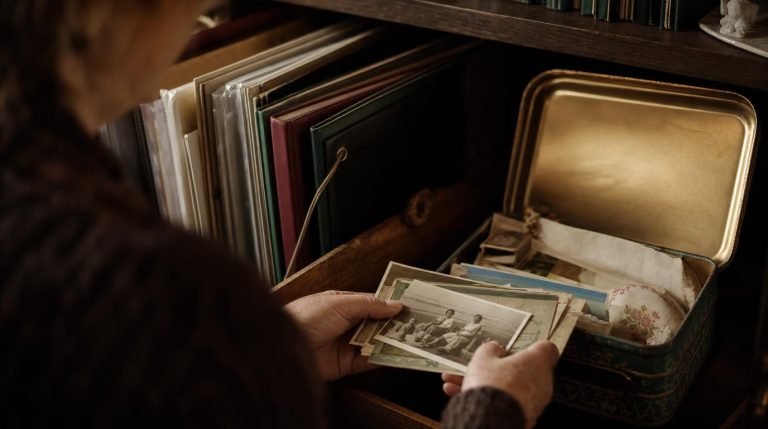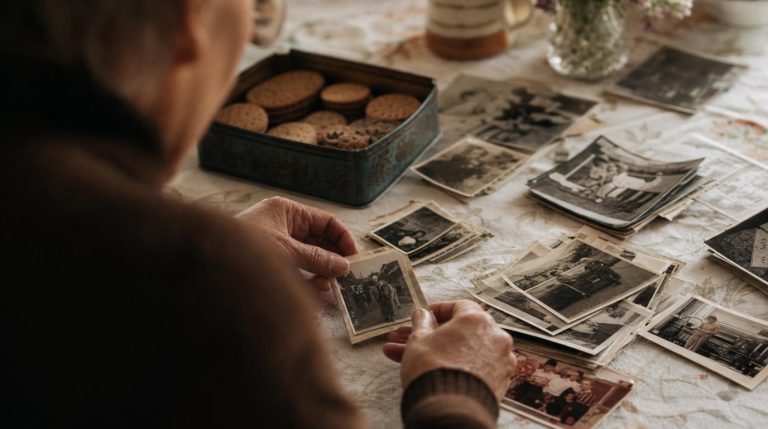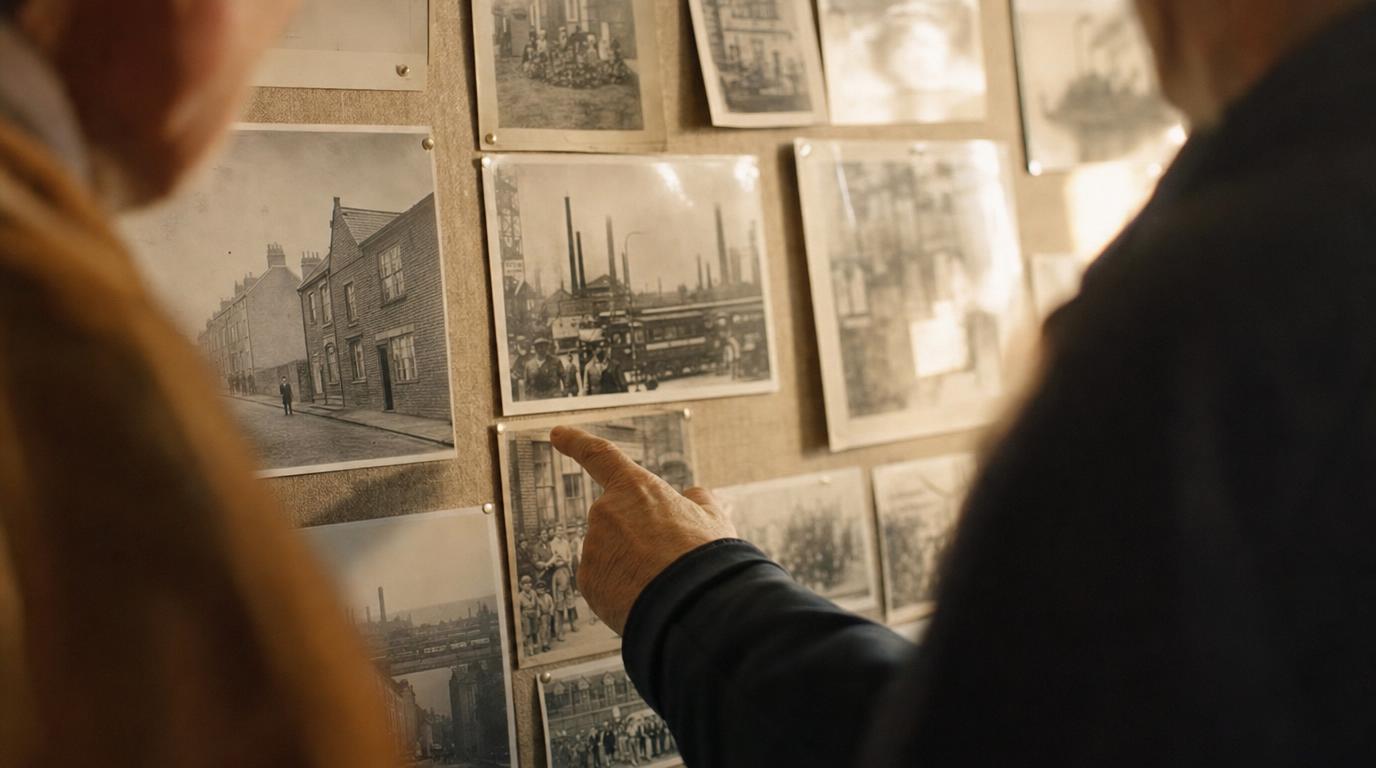
The history that matters most to people is rarely in the official record. It lives in the corner shop that closed, the factory that once employed half the street, the pub, the chapel, the school photo with forty names nobody has written down.
A community archive gathers all of that in one place, kept by the people it belongs to. You do not need funding or a building to begin. You need a boundary, a few willing hands, and somewhere safe to put things.
- A clear boundary: a street, a school, a village
- A few willing volunteers
- A scanner or good phone camera
- Somewhere safe, and backed up, to store it all
The five steps
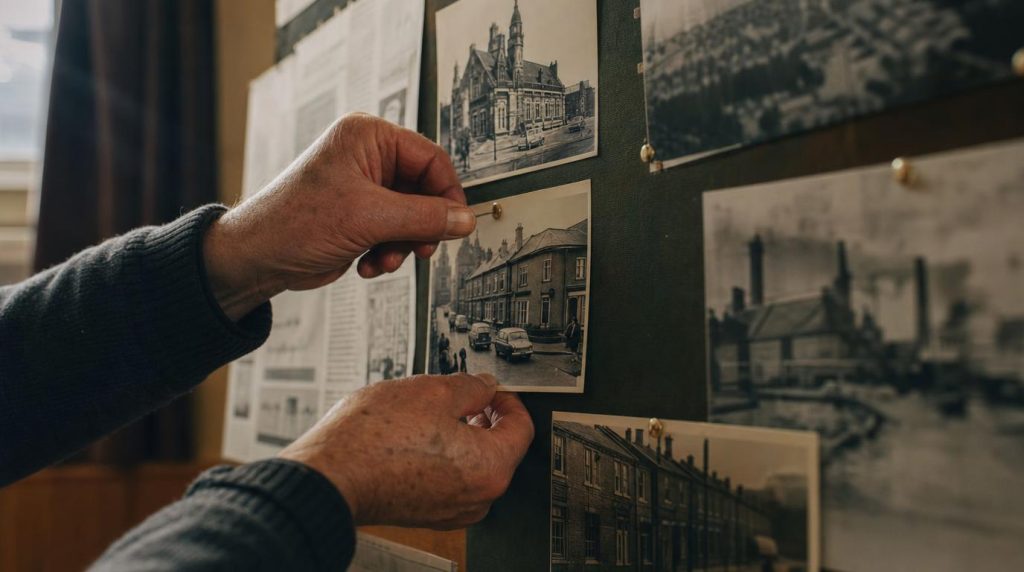
Decide what it covers
A street, a school, a workplace, a village, a whole town. Draw a clear boundary so you know what belongs in it. A tight scope you finish beats a grand one you never do.
Gather from many hands
The best community archives are built by everyone. Put out a call at the local library, church, school, or community group, and ask people to share photographs, documents, and memories.
Catalogue as you go
Give every item a simple record: what it is, who it belongs to, roughly when and where it is from, and any story attached. Being consistent matters more than being detailed.
Agree one simple way of recording things before you start, and make sure every volunteer uses it. A hundred items catalogued the same way beats a thousand done every which way.
Digitise and store safely
Scan or photograph everything, name the files clearly, and back them up in more than one place. Return borrowed originals to their owners, or store donated ones with proper care.
Share it back
An archive locked away helps no one. Share it through a website, a local exhibition, a book, or a group, so the community it belongs to can actually see it.
What makes it work
Get people involved. You cannot record a community’s history alone, and you should not try. Shared work is richer, and it spreads the load.
Sort out permissions. Note who owns each item and whether they are happy for it to be shared. A simple written yes now saves a great deal of trouble later.
Join forces. Your local history society, library, or record office may already hold a great deal, and will often welcome a new project. You do not have to start from nothing.
Common questions
Do we need money or a building to start?
No. Many wonderful community archives began as a folder of scans and a Facebook group. Gather digitally first; a physical home and funding can come later if the project grows.
How do we handle donated originals?
Decide early whether you are borrowing items to scan and return, or accepting donations to keep. Write it down for each item, and if you are keeping originals, store them properly, cool, dry, and out of the light.
What about copyright and privacy?
Get the owner’s permission before sharing anything, be careful with photos of people who are still living, and credit contributors. When in doubt, ask, and keep a simple record of who said yes.